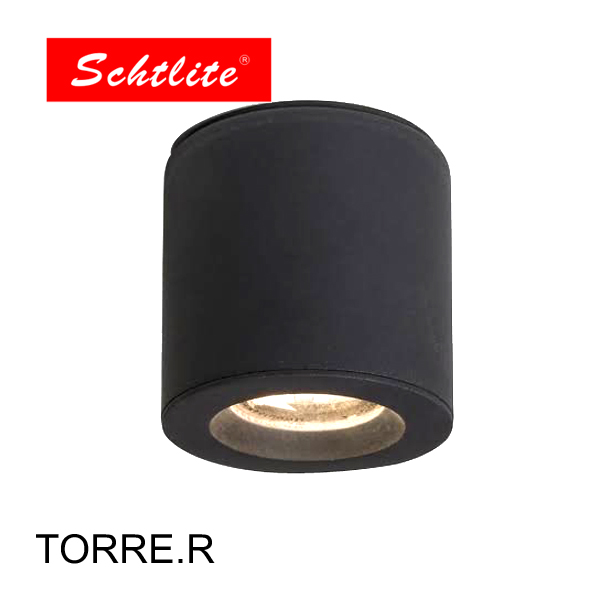
1. Turn Off the Power
Ensuring your safety is paramount when working with electrical fixtures, so the first step is to turn off the power to the ceiling light you will be replacing. Locate your home's electrical panel, which is typically found in a basement, garage, or utility room. Once you’ve found it, identify the circuit breaker that controls the ceiling light. If your breakers are not labeled, you may need to turn off the main breaker to be absolutely certain no power is flowing to the light fixture. After switching off the breaker, use a voltage tester to double-check that the power is indeed off. To do this, touch the tester to the wires connected to the fixture; if there is no indication of voltage, it is safe to proceed. This extra step is crucial because electrical currents can be dangerous and potentially lethal. Wearing safety glasses during this process is also a good idea to protect your eyes from any unforeseen issues.
2. Remove the Old Fixture
Once you have confirmed that the power is off, you can begin the process of removing the old light fixture. Start by removing any covers or shades from the fixture to expose the internal components. Most fixtures have a decorative cover or a glass shade held in place by screws or clips. Carefully remove these to avoid breaking the glass. Next, use a screwdriver to unscrew the fixture from the ceiling. There may be several screws holding it in place, so be sure to keep a hand on the fixture as you remove the last screw to prevent it from falling. After the fixture is free, gently pull it away from the ceiling to reveal the wiring. You will see wires connected with wire nuts – usually, a black (hot) wire, a white (neutral) wire, and a green or bare copper (ground) wire. Unscrew the wire nuts and disconnect the wires. At this point, you may want to take a photo of the wiring setup for reference when installing the new fixture.
3. Prepare the New Fixture
Before installing the new fixture, it is essential to prepare it properly. Start by carefully reading the manufacturer’s instructions included with your new ceiling light. These instructions provide specific details on how to assemble and install the fixture, and following them ensures the fixture is installed correctly and safely. If the fixture requires assembly, lay out all the parts and hardware, and follow the step-by-step assembly instructions. This might involve attaching the mounting bracket to the fixture, installing decorative components, or assembling the shade. Pay special attention to the type and wattage of bulbs recommended for the fixture to ensure you purchase and install the correct ones. If the fixture comes with an integrated LED, this step may not be necessary. Proper preparation at this stage will make the installation process smoother and more efficient.
4. Install the New Fixture
With the new fixture prepared, you can begin the installation process. Start by connecting the wires from the new fixture to the corresponding wires in the ceiling. Typically, this involves connecting the black wire (hot) from the fixture to the black wire in the ceiling, the white wire (neutral) from the fixture to the white wire in the ceiling, and the green or bare copper wire (ground) from the fixture to the ground wire in the ceiling. If the wires in your ceiling are not color-coded, refer to your photo or label the wires before disconnecting the old fixture. To connect the wires, hold the ends together and twist on a wire nut until it is secure. Once all the wires are connected, wrap each wire nut with electrical tape for added security. Carefully tuck the wires into the electrical box in the ceiling, ensuring they are not pinched or damaged. Finally, align the mounting bracket of the new fixture with the holes in the electrical box and secure it with screws. Make sure the fixture is tightly attached to avoid any movement or wobbling.
5. Attach the Fixture to the Ceiling
Once the wiring is complete, you can securely attach the new fixture to the ceiling. This step is crucial for ensuring the fixture is stable and safe. Align the fixture's mounting plate or bracket with the electrical box in the ceiling. Use the screws provided with the fixture to attach the bracket securely. If the fixture is heavy, it might be helpful to have someone assist you in holding it while you attach it to the ceiling. Make sure all screws are tight and the fixture is flush with the ceiling to avoid any gaps. Double-check that the fixture is firmly in place and does not wobble. This stability is important for both safety and aesthetics. If the fixture has additional parts that need to be attached, such as decorative elements or additional supports, do so now, following the manufacturer's instructions carefully. Ensure all parts are securely fastened before proceeding to the next step.
6. Install Bulbs and Cover
With the fixture securely attached to the ceiling, the next step is to install the bulbs. Depending on your fixture, this could involve screw-in bulbs, LED modules, or other types of light sources. Refer to the manufacturer’s instructions for the recommended type and wattage of bulbs to ensure compatibility and safety. Overloading a fixture with bulbs of too high wattage can cause overheating and potentially a fire hazard. After installing the bulbs, attach any covers or shades that came with the fixture. These components not only protect the bulbs but also enhance the aesthetic appeal of the fixture. Make sure all screws or clips holding the cover are secure. If the cover is made of glass or another fragile material, handle it carefully to avoid damage. Once the bulbs and cover are installed, take a step back to ensure everything looks aligned and properly installed.
7. Turn On the Power
The final step in replacing your ceiling light is to restore power and test your installation. Return to the electrical panel and turn on the circuit breaker that controls the ceiling light. Go back to the room and flip the wall switch to turn on the new fixture. Observe the light to ensure it is working correctly and there are no flickering or other issues. If the light does not turn on, double-check your connections to make sure all wires are securely connected and no wires are crossed. If everything appears to be in order but the light still does not work, you may need to consult an electrician to troubleshoot the issue. Assuming everything is functioning properly, enjoy the new ambiance created by your updated ceiling light. Remember, if at any point during the process you felt unsure or encountered unexpected problems, it is always best to seek professional assistance to ensure your safety and the proper installation of your fixture.


